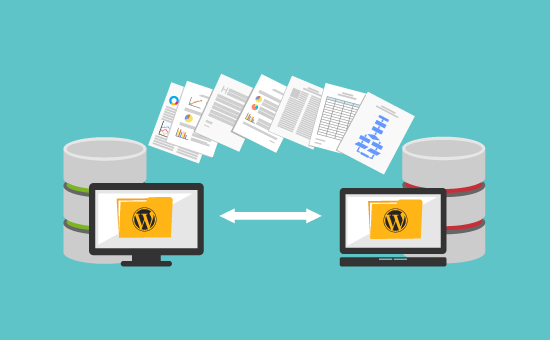
Your web host is responsible for presenting your site on the internet. Therefore the efficiency of your web host dictates the way your site is offered to visitors. If your web host is too slow, has too many bugs, or goes down a lot, it will negatively affect the user experience and impact your business. Or maybe your web host simply costs too much? With the variety of web host providers out there, you should be able to find one that meets your needs without overstretching your budget. Regardless of your reason for moving, you must take the right steps when moving your site. Read on to learn how easy it is to change web hosting provider.
Step 1: Find a New Hosting Provider and Sign-Up
The first thing you need to do is decide who your new web host will be. Make sure to consider all factors such as cost, speed, uptime, and customer support when making your decision. Additionally, you may want to consider a web host that offers free website migration. This means that the new web host will take care of transferring your site. If, however, you want to do the transfer yourself, keep reading.
Step 2: Save Files
The next step is to save your website’s files. Essentially, you’ll be taking a digital image of your site as it looks right now and transferring the whole thing over to the new host. This includes uploads, plugins, images, etc. All these files need to be downloaded using FTP service. The FTP tool we recommend is FileZilla. To download your files using FileZilla, do the following:
- Make a file on your desktop where you’ll store your website
- Download the FileZilla Client (don’t download the FileZilla Server)
- Make a new FTP account with your existing hosting provider
- Link FileZilla to your existing hosting account
- Download files to your desktop folder
Step 3: Export Database
Not all websites have databases, so if this step doesn’t apply to you, please skip to Step 4.
MySQL is the most common type of database. You can export a MySQL database using the phpMyAdmin app, accessible from any hosting account using the standard cPanel dashboard. If, however, you don’t have a MySQL database or you can’t find the phpMyAdmin app, then it’s best to check with your hosting support team. If you are interested in web hosting, check 28Msec online
Step 4: Make a New Database
Before you can import your existing database into your new hosting dashboard, you will need to create a blank database. To do this, follow these steps:
- The first step is to log into your new hosting account. (In this case, we’re going to assume that you’re using a MySQL database and that your new web host uses a standard cPanel dashboard).
- Next, open the MySQL Databases section (this is found under ‘Databases’ in the account control panel).
- Then, under the header “Create New Database,” and in the field labeled “New Database,” write the name of your new database.
- Click the “Create Database button.”
Step 5: Import Your Existing Database
Now you’re going to take the database you previously exported and import it to the new database you just created:
- Navigate to the Database section
- Choose the phpMyAdmin app
- Click the + icon under your username to view all your databases
- Choose the new database you just created from the list. It should say, “No tables found in database.”
- Navigate to the Import tab in the top menu
- Select the Choose File button and select the SQL file you exported earlier.
- Click the Go button at the bottom of the page
Step 6: Upload your Website’s Files
Once your database is safely established with your new hosting provider, you need to transfer your files:
- Make an FTP account with your new hosting provider
- Sync FileZilla to your new hosting account
- Upload your website files
Step 7: Review your Site
Now that everything is set up in your new hosting account, it’s time to make sure everything looks as it should. Most hosts will provide a staging environment or temporary URL where you can see what your site looks like. Review and test your entire site to make sure everything works, and no content is missing.
Step 8: Bring your DNS Settings Up to Date
The final step for moving your site to a new web host is to update your DNS settings. This process will vary depending on where your domain is registered. Regardless, you will need the nameservers of your new hosting provider. Once you have this, you’ll need to request a transfer from your current domain name provider.
Summary:
Moving your site to a new host may seem intimidating, but as we’ve just demonstrated, it’s not so complicated. Let’s summarize the steps, so you don’t forget:
- Find a new hosting provider and sign-up
- Save files
- Export database
- Make a new database
- Import your existing database
- Upload your website’s files
- Review your site
- Bring your DNS settings up to date
For informative articles follow Techdee


